

How to use the Lobby in Microsoft Teams
The Teams meeting lobby is a virtual area where participants wait for admittance to a meeting. Using the Lobby feature is a great way to keep your class outside your classroom until you are ready to let them in. Just like you might in a physical classroom if you need to setup the room and don’t want your class in yet.
Creating the Lobby
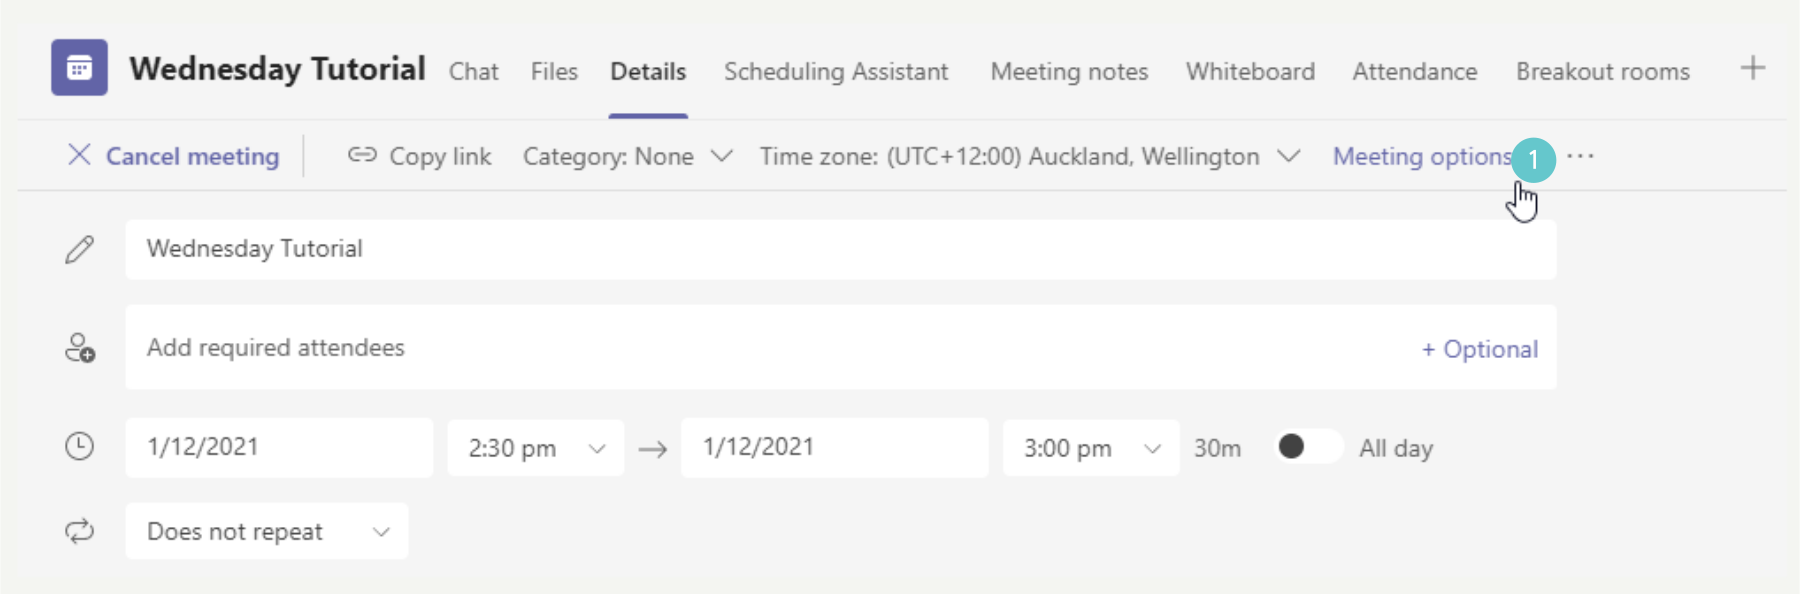
- Create a Teams meeting and go into the options for that meeting. To get to Meeting options either click the Meeting options button at the top of Teams, or click on Meeting options under the Teams link in an Outlook calendar invite.
- Use the dropdown next to Who can bypass the lobby? Choose who can bypass the lobby.
The default setting for the lobby is People in my organisation and guests. This means that by default, everyone bypasses the lobby. The lobby is always there, it’s just that normally you won’t notice it because everyone bypasses it.
- Choose one of the other options.
- Clicking Only me will allow only you to bypass the lobby and everyone else will stay in the lobby until you admit them.
- People I invite (turn off Allow Forwarding in the meeting invite) allows people you send the invite directly to bypass the lobby, but if you separately share the invite link with others, they will have to wait in the lobby. This is a great option if you have a guest in your tutorial who you want to have a chat with first in Teams before letting the rest of the class into the meeting.
There is a further setting Always let callers bypass the lobby that you can separately choose to set. By default, this is set to Yes. This means that people joining by phone will join your meeting without having to wait for someone to admit them.
- Toggle this setting to on or off, depending on what you want.
During the Meeting
When a person is waiting in the lobby they get a message telling them that people in the meeting know you’re waiting.

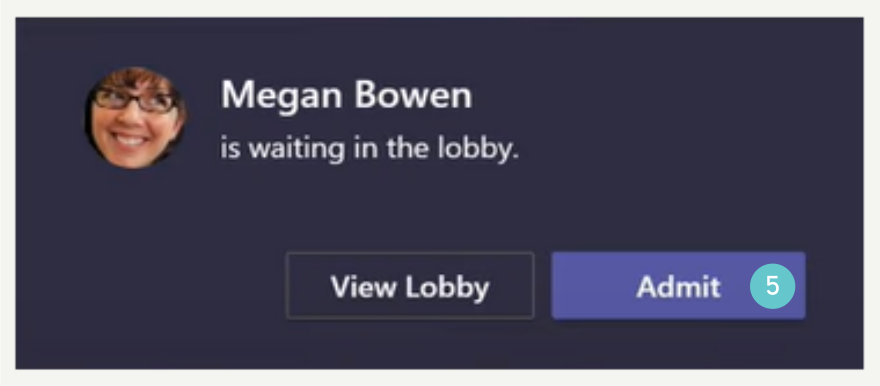
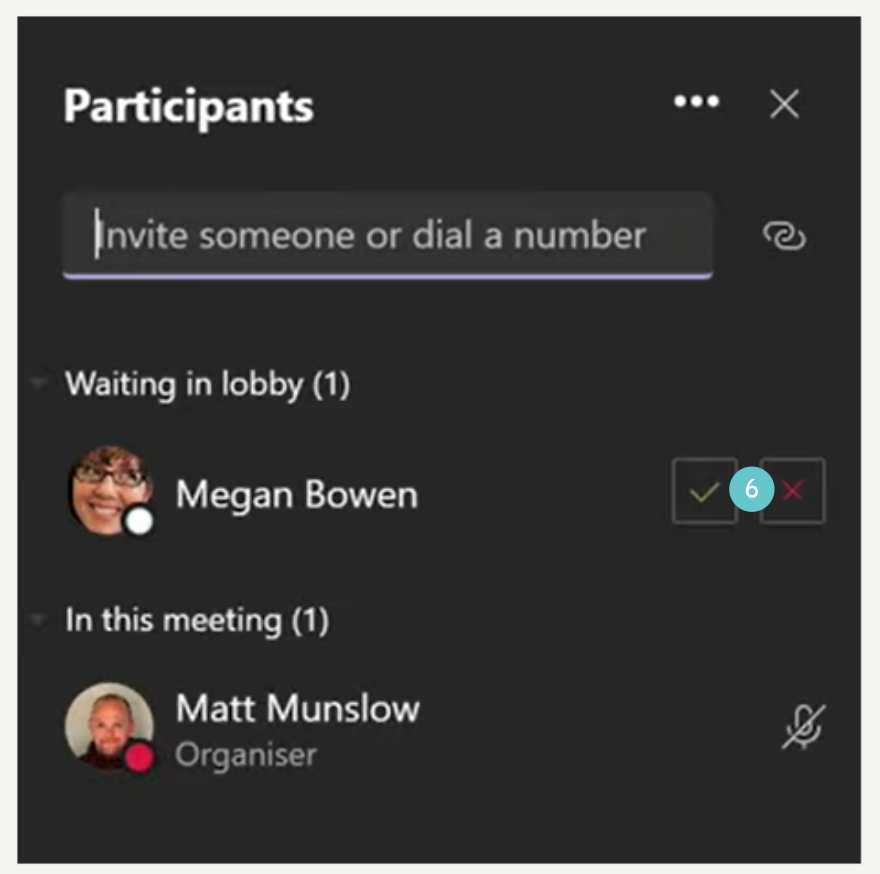
From your point of view, on the Participants pane, you can see who’s waiting in the lobby. There are also notifications telling you someone is waiting in the Lobby. You can also View the Lobby from here.
- Click View lobby or Admit for a single person.
- In the Participants pane, Tick either the Tick or the Cross to allow/deny a person access to the meeting. You can do this individually or as a bulk add.
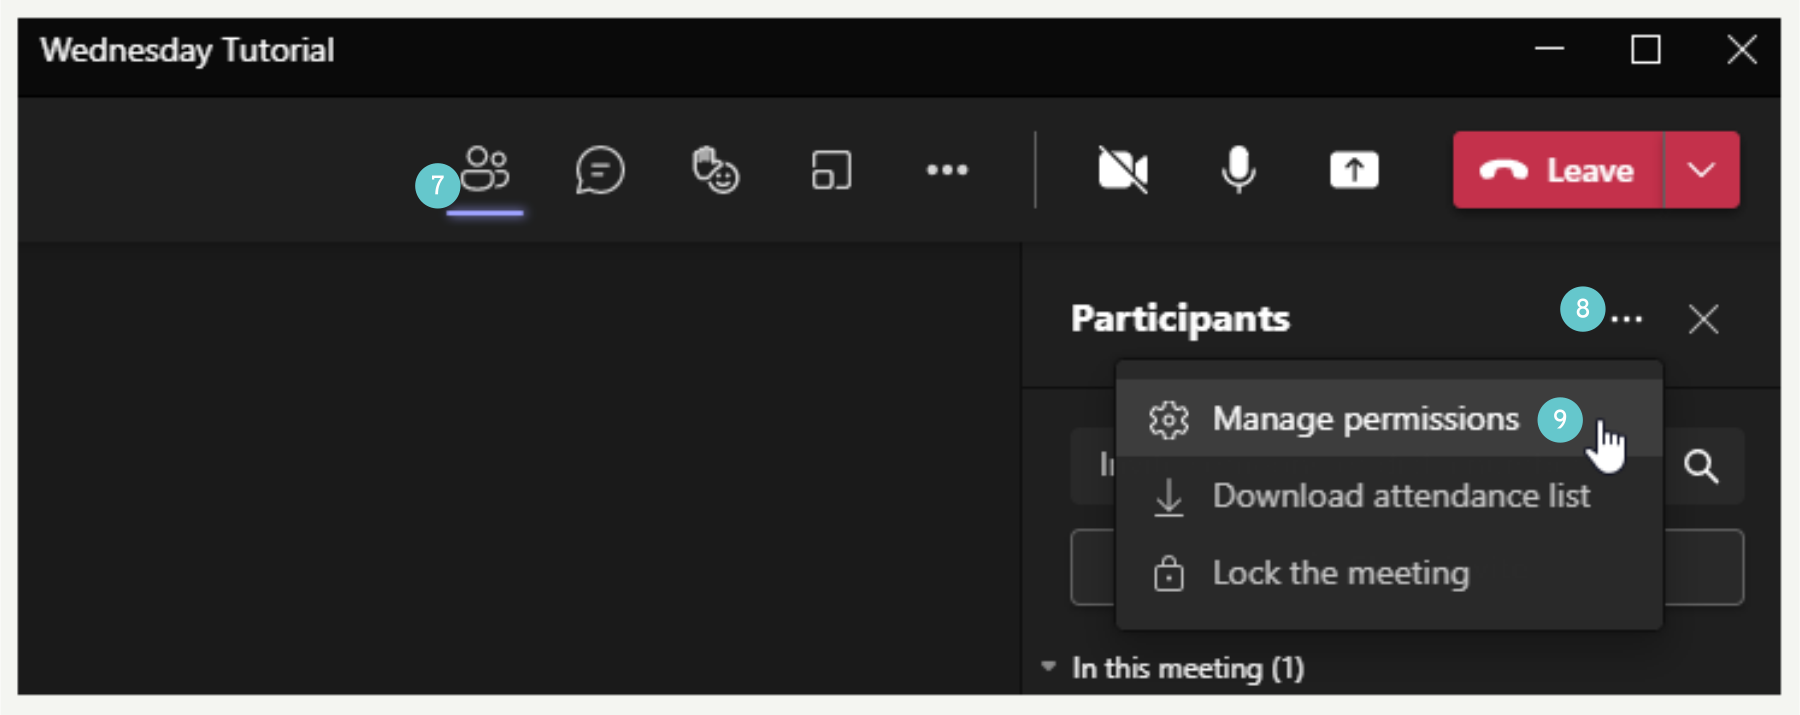
If you do not have the Participants pane showing, you can see that people are waiting in the lobby by the number on the Participants icon

After the meeting has started you can change Lobby settings, e.g. after you’ve started your presentation you could change the lobby setting to allow anyone so that you aren’t interrupted by people asking to join all the time.
- Click on the Participants button.
- Click the three dots at the top of this pane.
- Click Manage permissions. This takes you to the meeting options as shown above.
Hints and Tips
- Use the lobby when you want students to arrive ‘in class’ at the same time.
- Use the lobby when you want to keep students out at the very beginning of a session, perhaps if you are talking with a guest speaker.